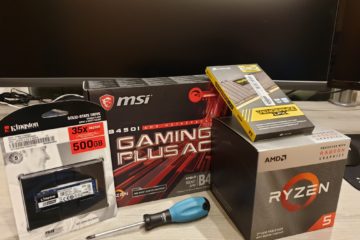
Introduction
I recently got the question from a good friend to build her a new workstation. A nice moment to do a build log for you guys. My friend Amber is photographer, just building her business and wanted a reasonably specced out pc for her Adobe Photoshop editing activities, meaning we had to invest in a beefy cpu with fast single core cpu performance, fast memory, and a medium to high specced graphics card that supports accelerated photoshop scripts.
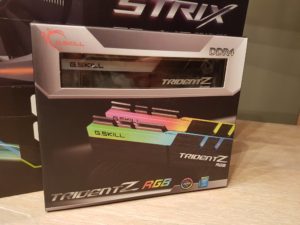
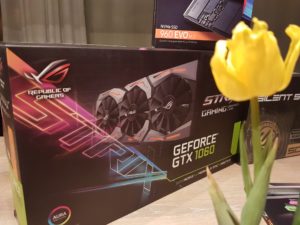
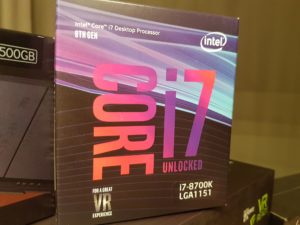
In the end we settled for a Intel Core i7-8700K, G-Skill 2×8 gb F4-3200C16D-16GTZR RAM and an Asus Strix GTX 1060 O6G Gaming. Amber told me she wanted her pc to be elegant and small, standing on top of her work desk. She recently acquired a new height adjustable desk, enabling her to switch between standing up and sitting work position making it easier to have longer healthier work sessions.
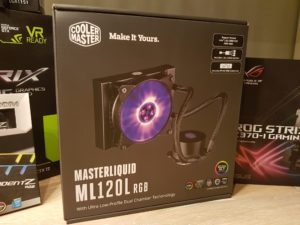
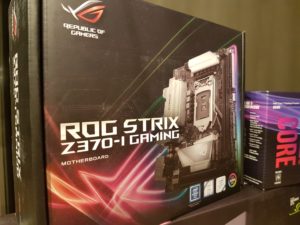
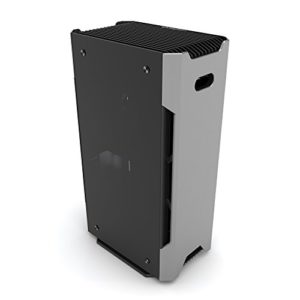
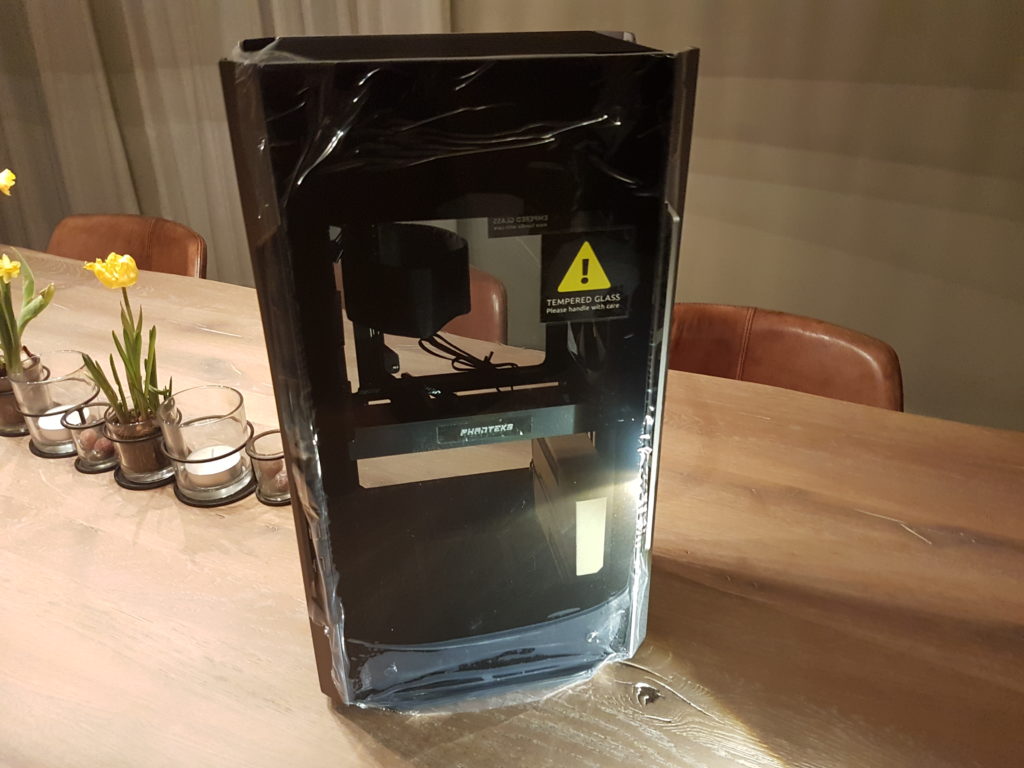
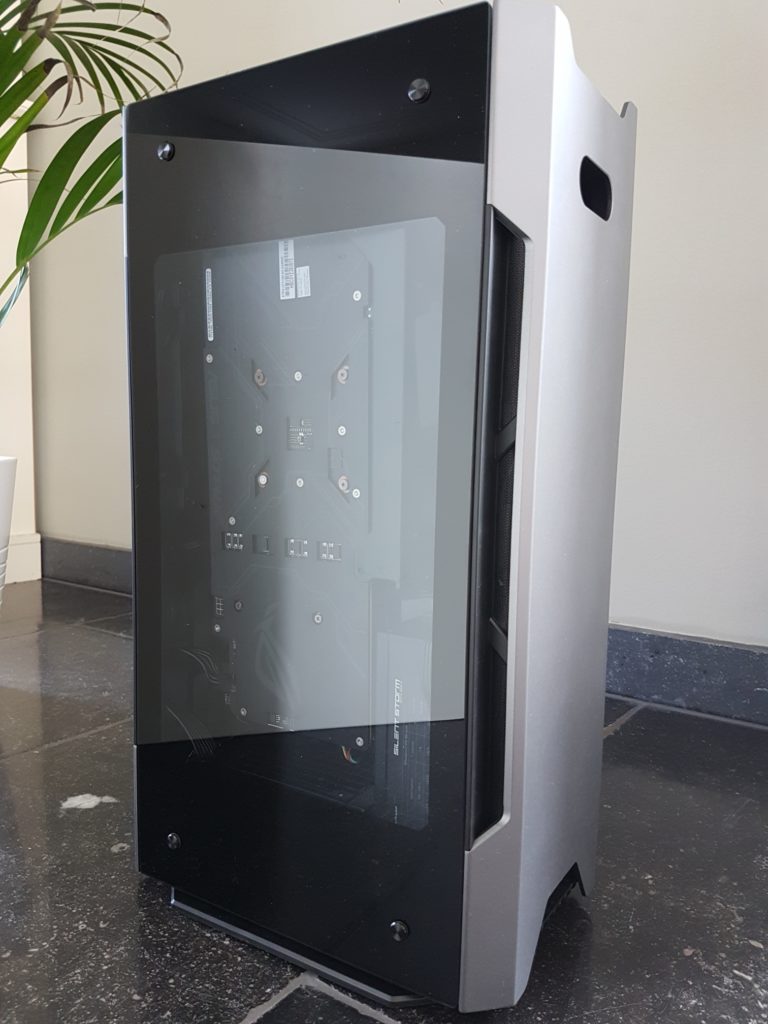
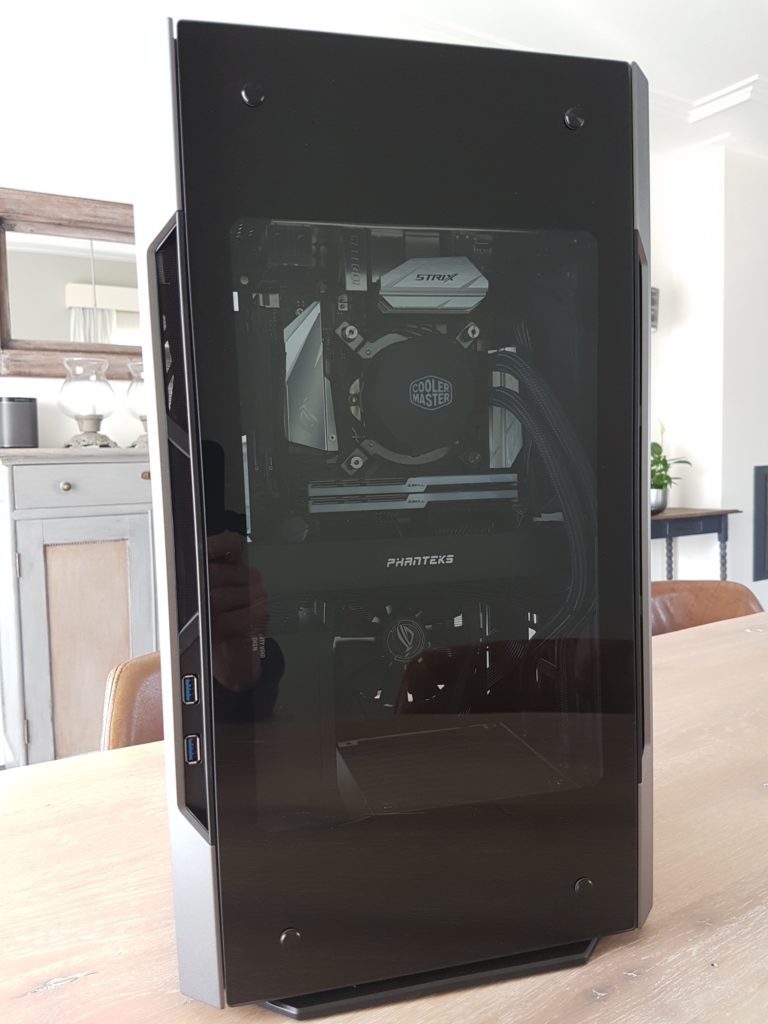
Taking this all in consideration, the case of our choice is a homegrown Dutch fabricate of Anodized aluminium and tempered glass, the Phanteks Shift. Man, i love this case! Having a footprint of only 170 x 274 mm and being 470 mm tall, it meets all the dimensional criteria, meanwhile displaying it’s precious hardware from both sides through the tempered glass side panels. Making use of all that glass we opted for the Asus ROG Strix Z370-I with AURA support. The Intel Core i7-8700K is cooled by the new Cooler Master Masterliquid ML120L RGB, ASUS Aura compatible.
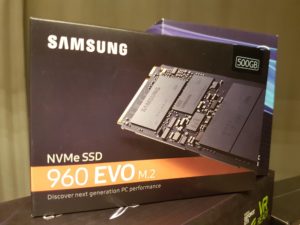
Our storage solution is a Samsung 960 EVO 500GB NVME SSD which provides us with blazing fast transfer speeds to import and export images in Photoshop. In the end we found that a 2×8 GB config now was a good option as 2×16 GB would have taken a too large chunk out of our available budget, especially now with RAM prices going through the roof! Talking about this budget, including a Logitech Wireless MX800 Keyboard/Mouse combo and a 27 inch EIZO EV2750 monitor the total price of the system was just shy of € 2.000,00. That is a lot of money, but also some serious firepower packed into a small ITX system.
The Build
In this build(b)log we will guide you through the most important parts of our build process, discussing the components and what difficulties we faced building in the Phanteks Shift. If you want detailed information about specific components ask us in the comments. We try to include links to all the parts we used in this build. In a week or so we will compare this system against a previous generation Intel Core i7-7700K. Both systems will run a GTX 1060 6g in this comparison. But first let us move on with the build.
First step: Preparing the Phanteks Shift for the build process.
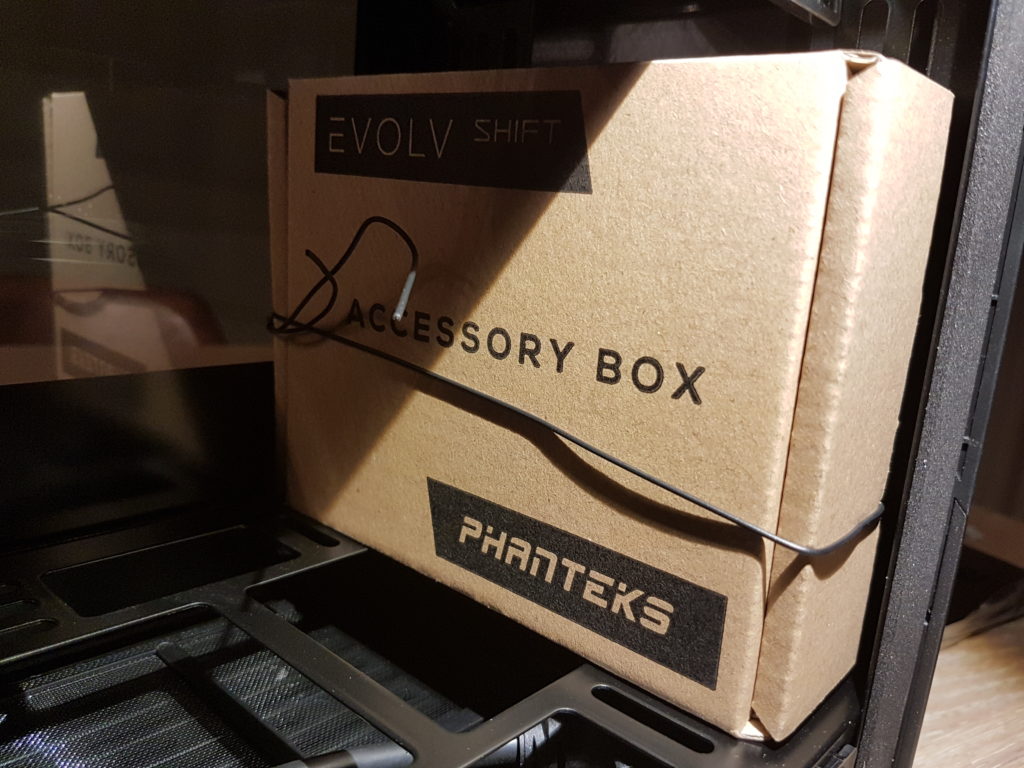
First we remove all the side panels. To do this we press the top of the case which uses a spring mechanism to release, which gives us acces to the I/O panel of the motherboard. Every side of the case has two thumb screws securing the individual panels in place. The four panels themselves have strong retention clips that clamb to the inner chassis. Both glass panels are Symmetrical and can be exchanged vice versa. The Anodized alumium panels have a fixed mounting position due too the front I/O panel sticking through one of the side panels. With all the sidepanels off we expected a lot of flex in the chassis, but none of that. Oh, we forgot to mention Phanteks trademark, including a small toolbox with philiphead screws, thumbscrews and zipties to make building in the Shift easy.
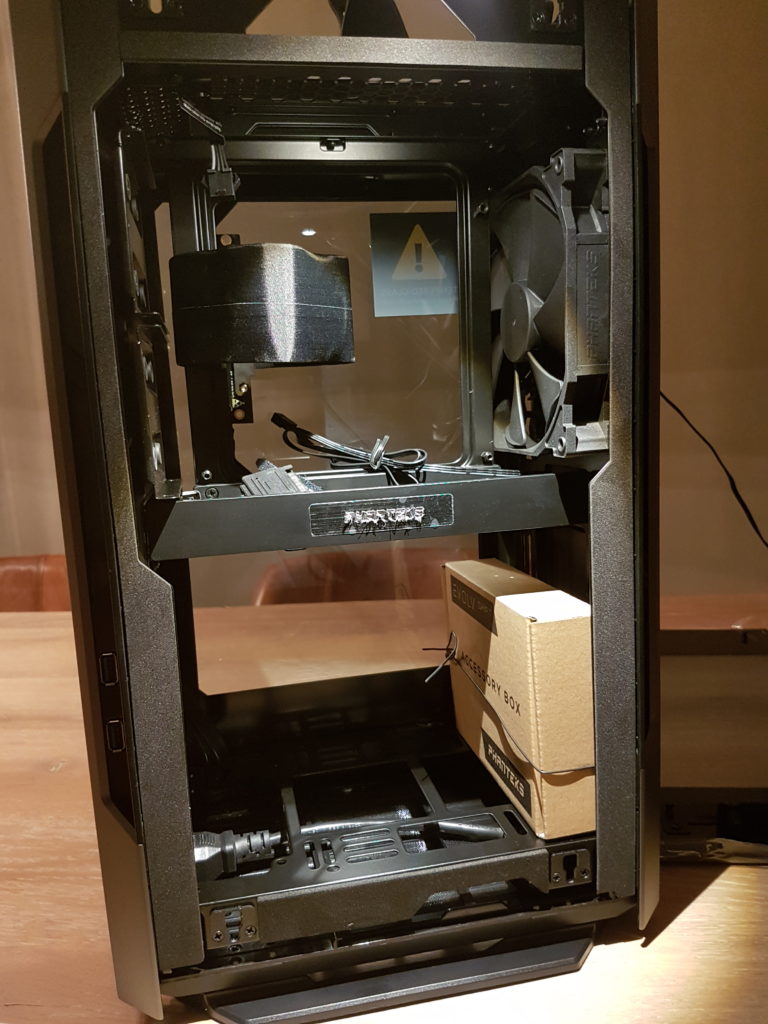
The internals of the Phanteks Shift are thought out, and consist of compartment S and V being System and Videocard. The front is the system side with the motherboard, the back exposes the videocard looking at its backplate once installed. Both compartments are connected by a PCI-E riser cable to connect your videocard to the motherboard.
The Shift supports videocards up to 350mm in length, leaving no space for a radiator. Our Asus Strix GTX 1060 Gaming is 298 mm long, leaving us approximately 50mm for mounting the Coolermaster ML120L’s radiator. We expect it to be a tight fit but we will see. The full specifications of the shift can be found below.

Step 2: Preparing the Motherboard, installing the memory and CPU.
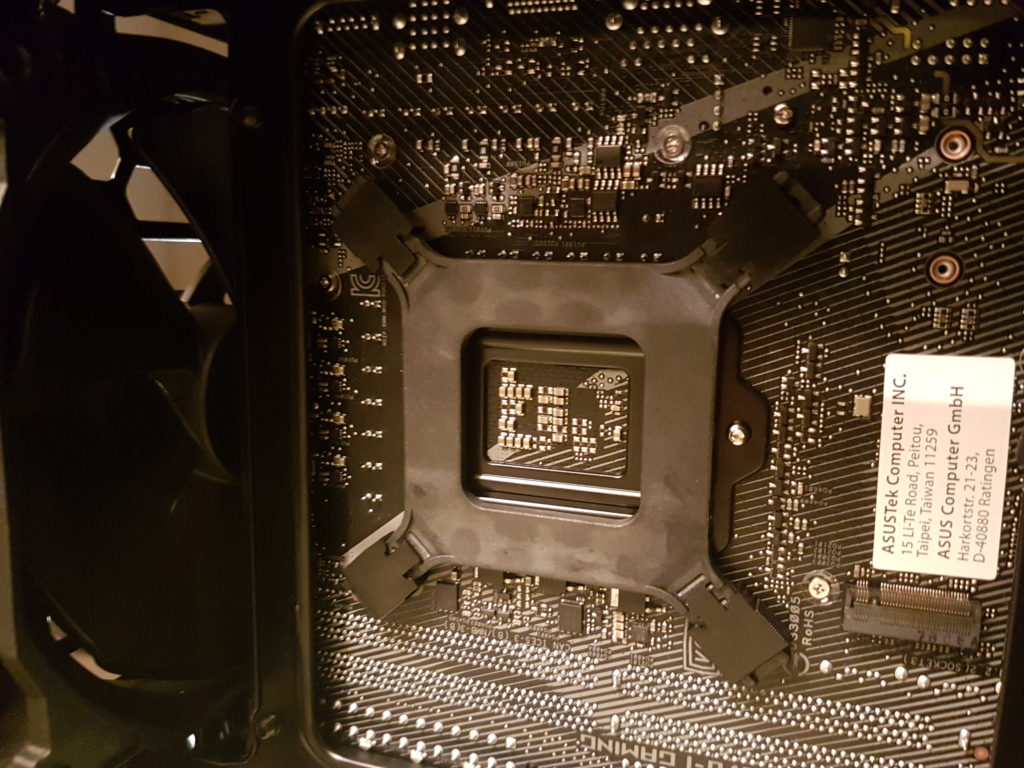
We first start installing the I/O shield in the case. Our Asus ROG Strix Z370-I is mounted 90 degrees rotated in the case, deciding us to do a double check on the positioning and press the I/O shield from the inside of the case outwards to secure it firmly. Every side clicks in place nicely.
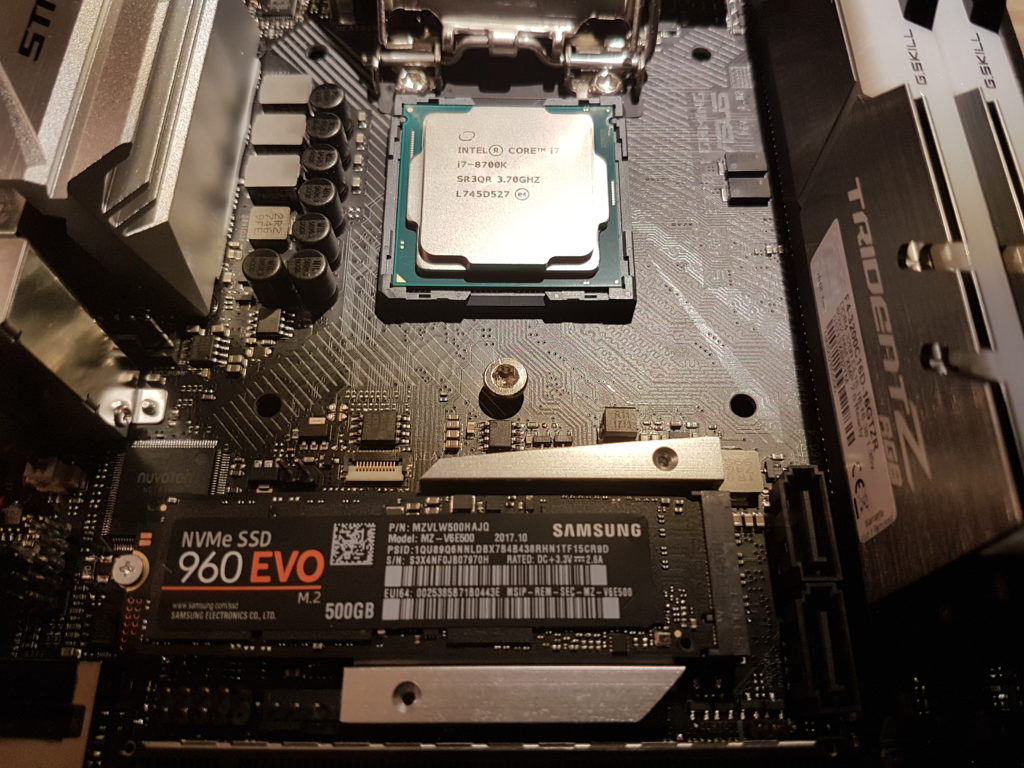
The second step involves installing the cpu on the motherboard which is relatively straightforward, although i’m always extremely carefull when pulling down the cpu lever not feeling to much resistance. If it blocks, it could mean the cpu is not adequately seated or positioned in the socket. Better safe then sorry, and check twice before bending pins or worse. Always keep the triangle on the cpu pointed towards the triangle on the socket.
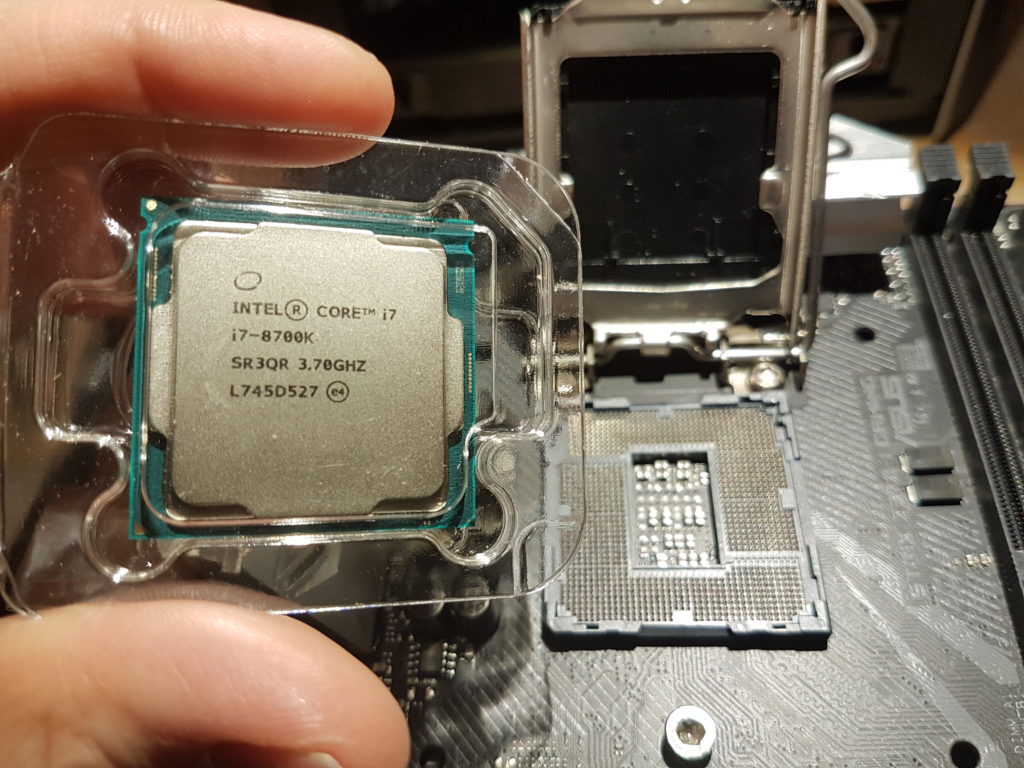
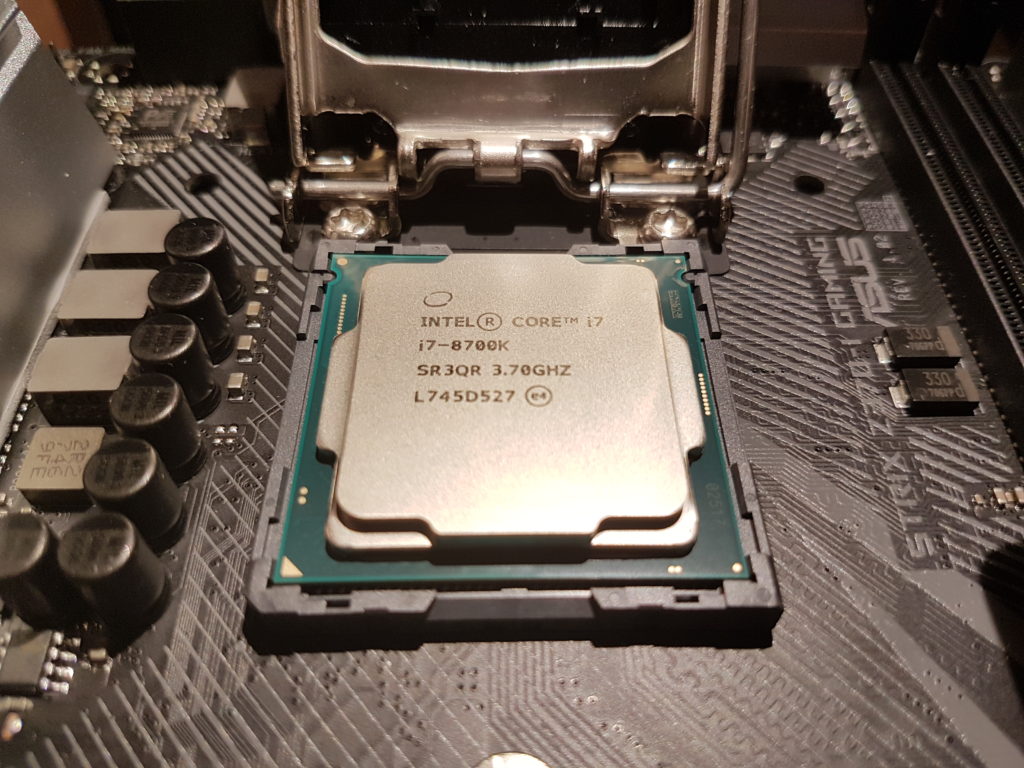
Having said that make sure you work on a non-static surface, use the box of the motherboard as i did in the photo’s or purchase a special anti-static work mat with a wrist band to be 99% sure. Before I start building a pc I often touch a metal surface like a radiator inside my house to discharge any electrical current. To be really honest with you, i never invested in an anti-static mat or wrist band and never destroyed a motherboard or cpu by not using it.
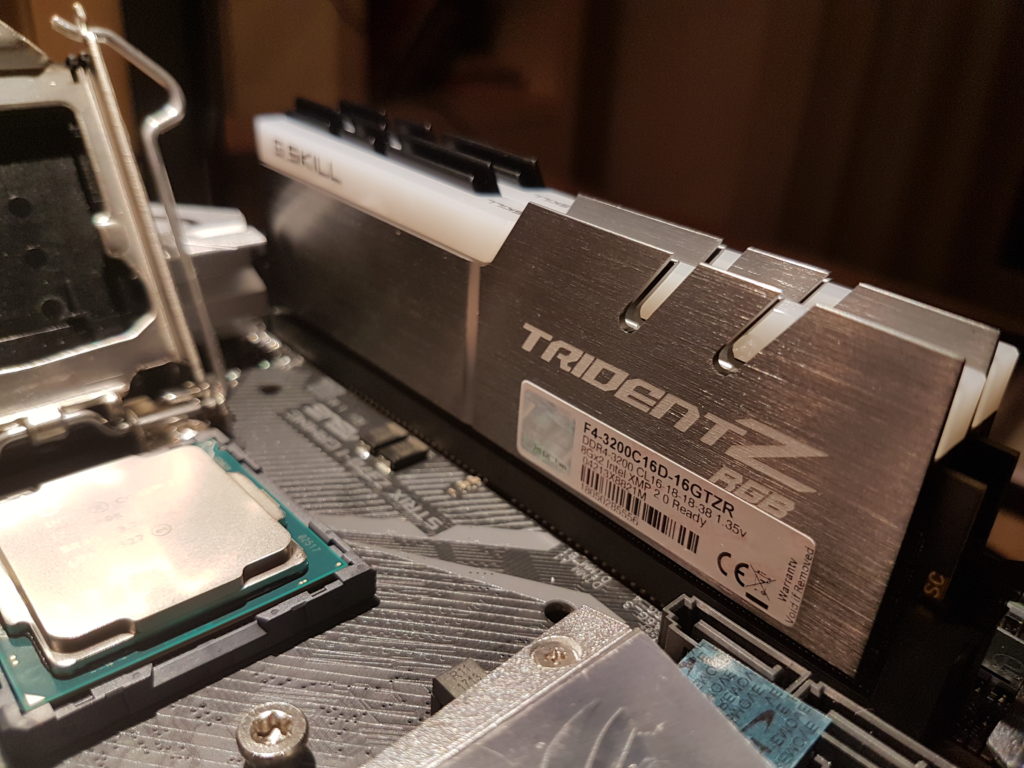
The G-Skill memory is another easy part of this build, just click i and be sure that the dividers in the dimm slots correspond to the nodges in the Dimms. If they don’t seat properly the first time, step back and try again, don’t rush.
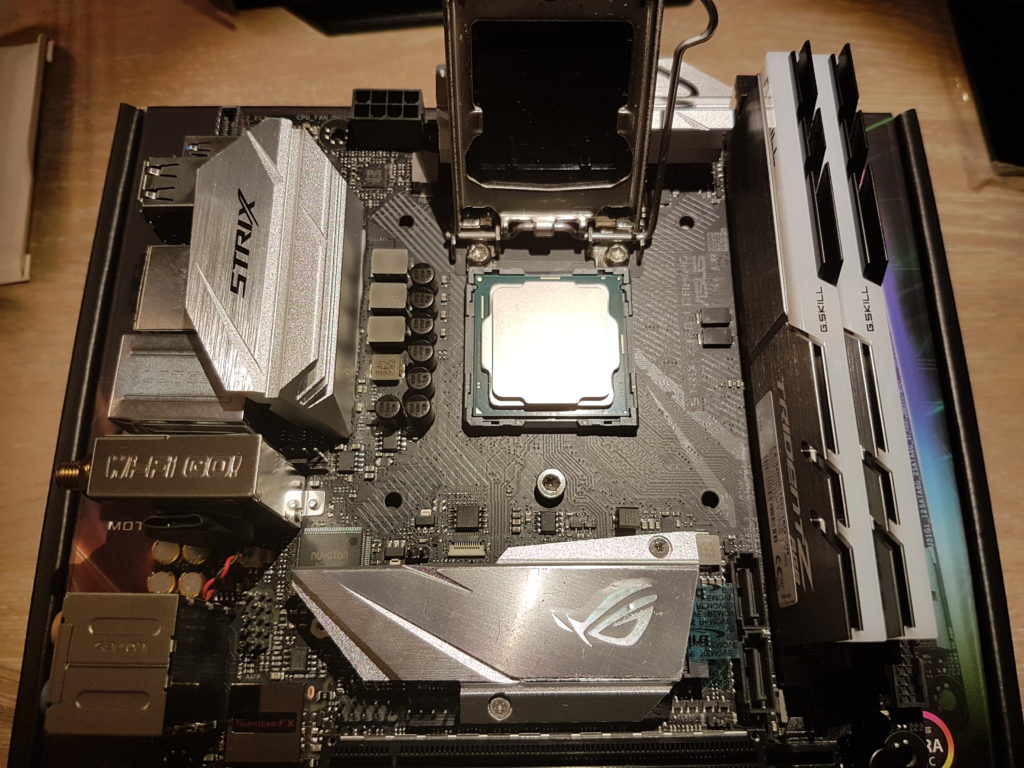
The last piece of hardware we need before mounting the motherboard in the Case is the Samsung 960 EVO 500gb M.2. NVME SSD. The Asus ROG Strix Z370-I has a nice build in heatsink for the first M.2. slot, located just below the cpu socket. It should prevent the NVME SSD from throtteling under heavy load. I’m curious if this cooling feature actually works. We will test it out later 🙂
Installing the motherboard in the Phanteks Shift works great despite it’s limited work space while building the system. The included motherboard stand offs have a small ledge capturing the board and holding it firmly in place, making it easier to secure the motherboard without you working against yourself.
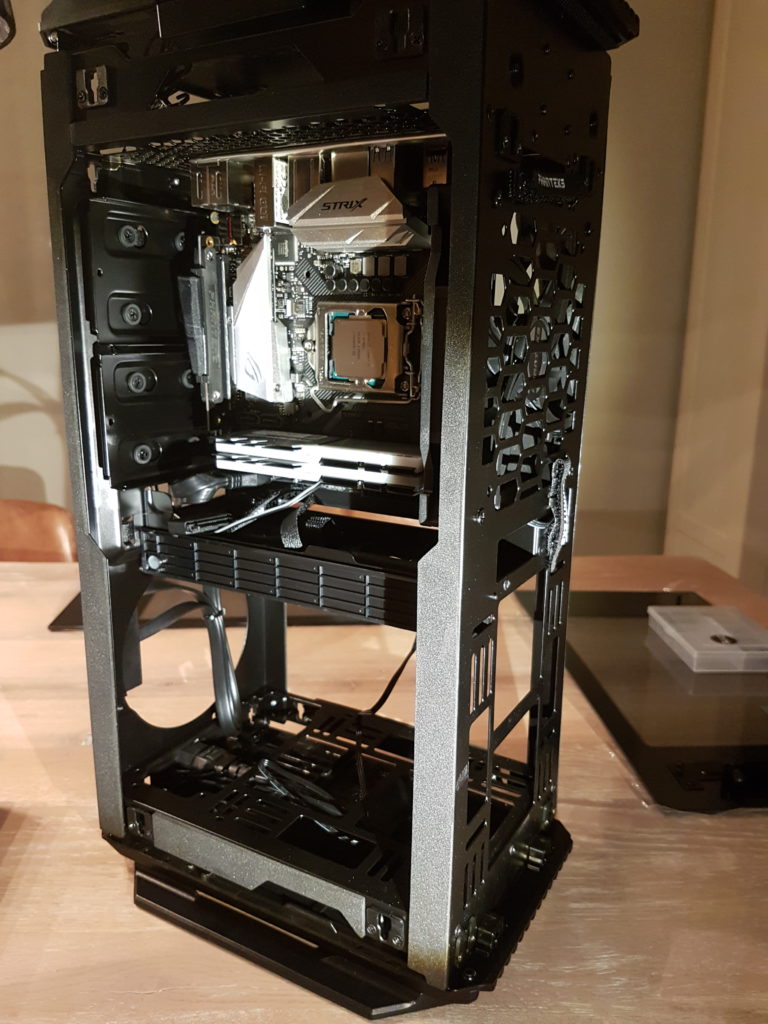
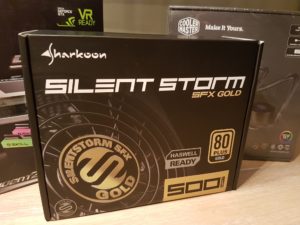
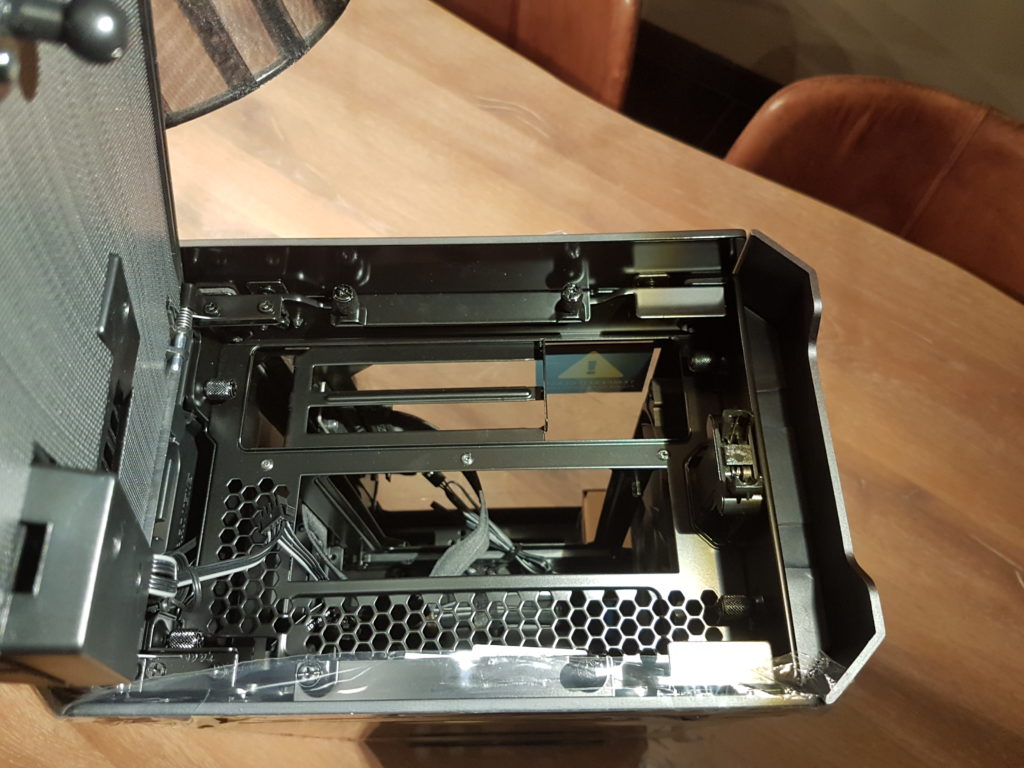
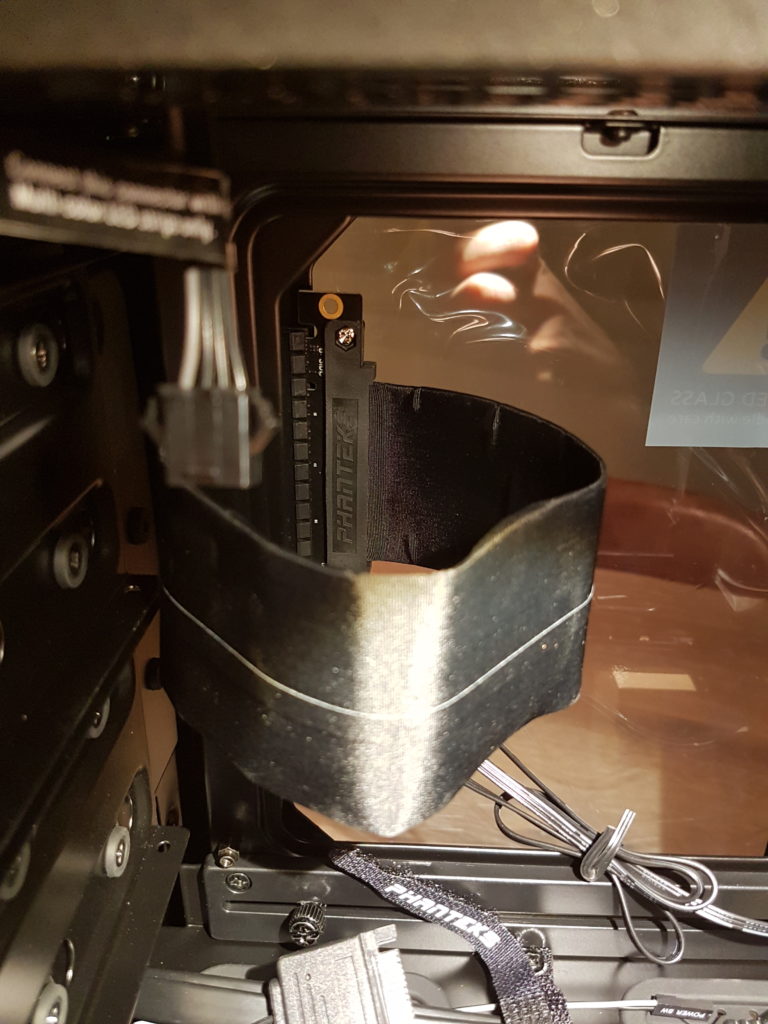
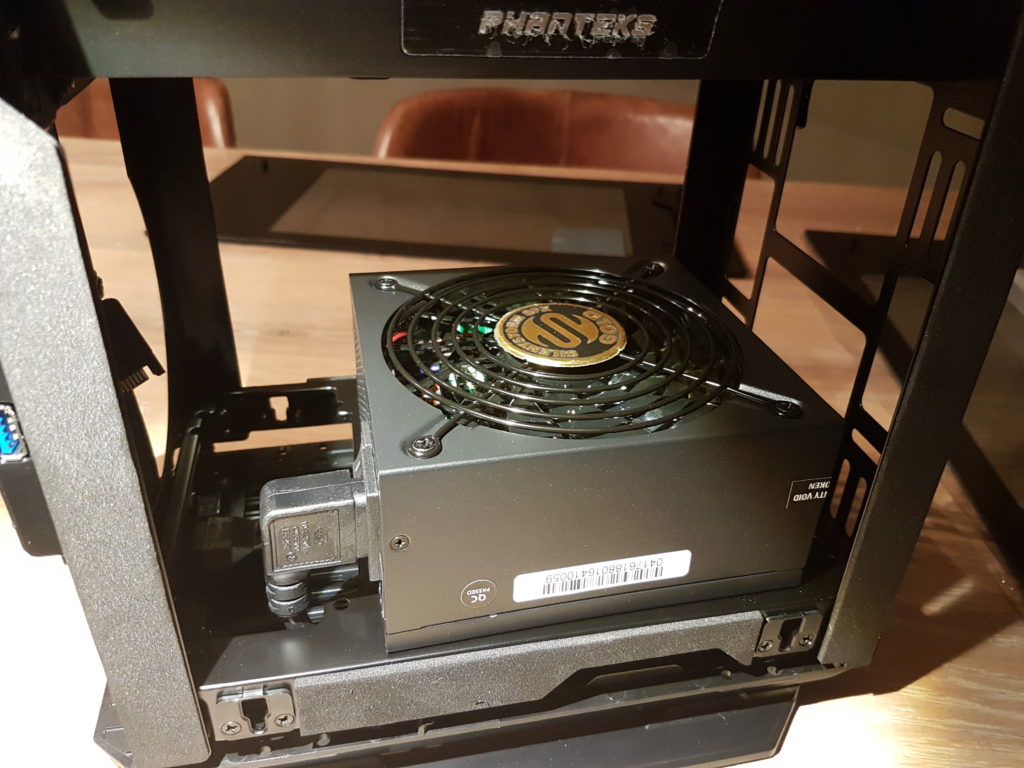
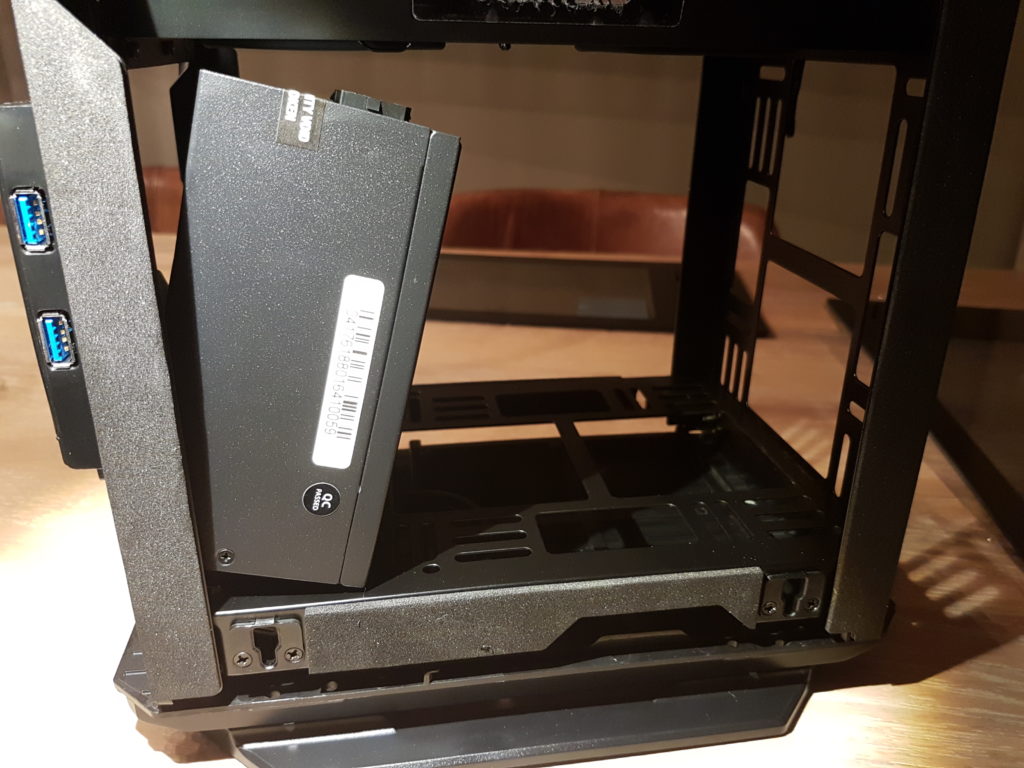
Now the motherboard is in securely mounted in the Phanteks Shift, it is time to install the power supply, which is a Sharkoon SFX Silent Storm 80 plus gold certified PSU SFX-L. This is the point where we run into problems. The Phanteks Shift allows PSU’s to be installed upright with the PSU outlet pointing towards the bottom of the case, and the air intake pointing towards the side. Phanteks did not include as we now experience the height of possible connectors from a modular PSU. So one little advice if you plan on building in the Phanteks shift, choose a regular SFX psu, not a SFX-L.
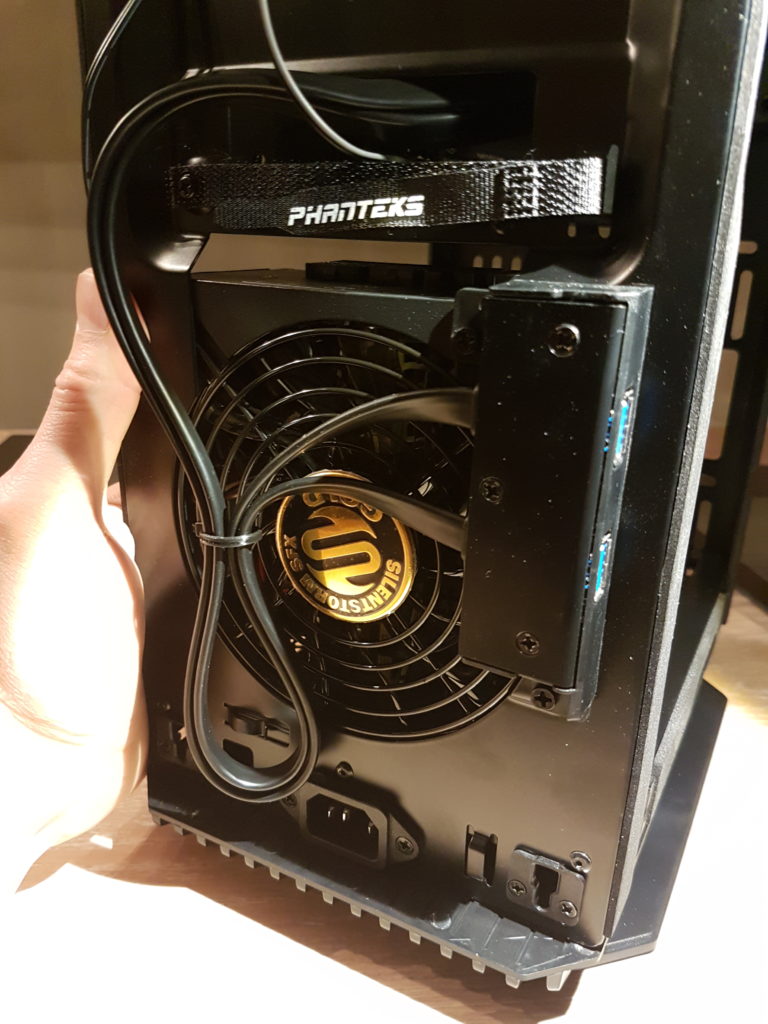
The last step in this build is installing the Cooler Master ML120L RGB. The ML120L RGB is suited for a wide range of sockets going back as far as socket 775 and AM2. The package consists of the cooler, backplate, 120 mm air pressure fan, rgb controller and rgb splitters. In the end we decided to mount the cooler horizontal with the fan in push configuration. This way the Cool Master ML120L’s braided hoses fit best in the Phanteks Shift, orientated to the right side of the case.
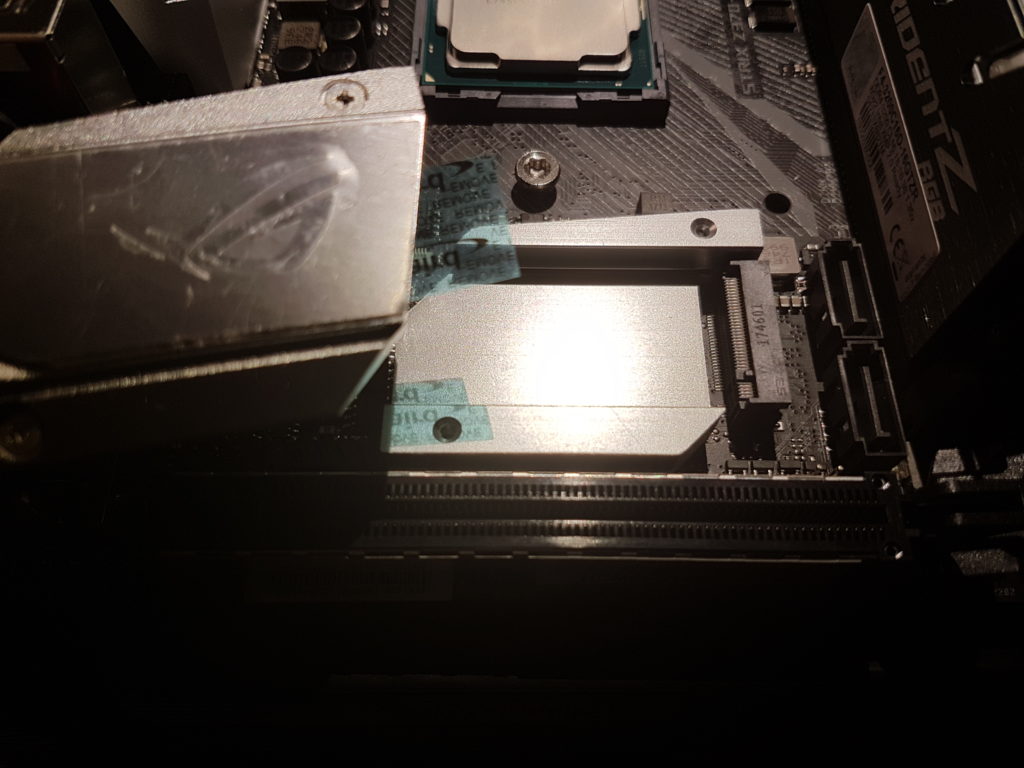
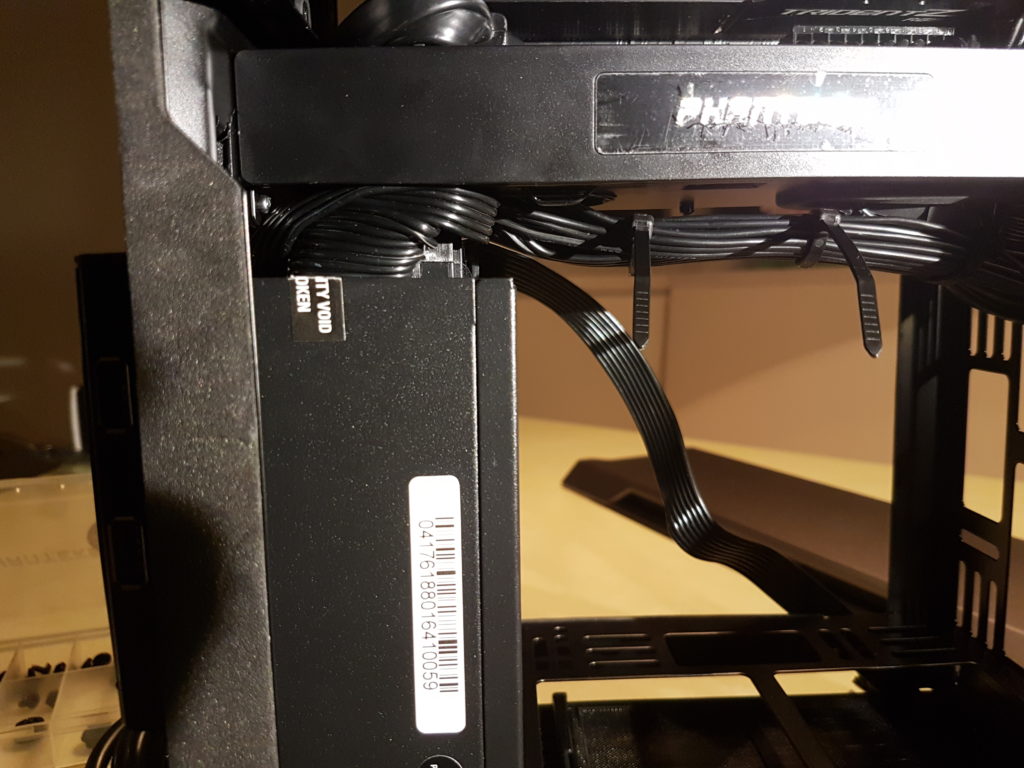
The backplate of the Cooler Master ML120L RGB with to the right side the 2nd M.2.
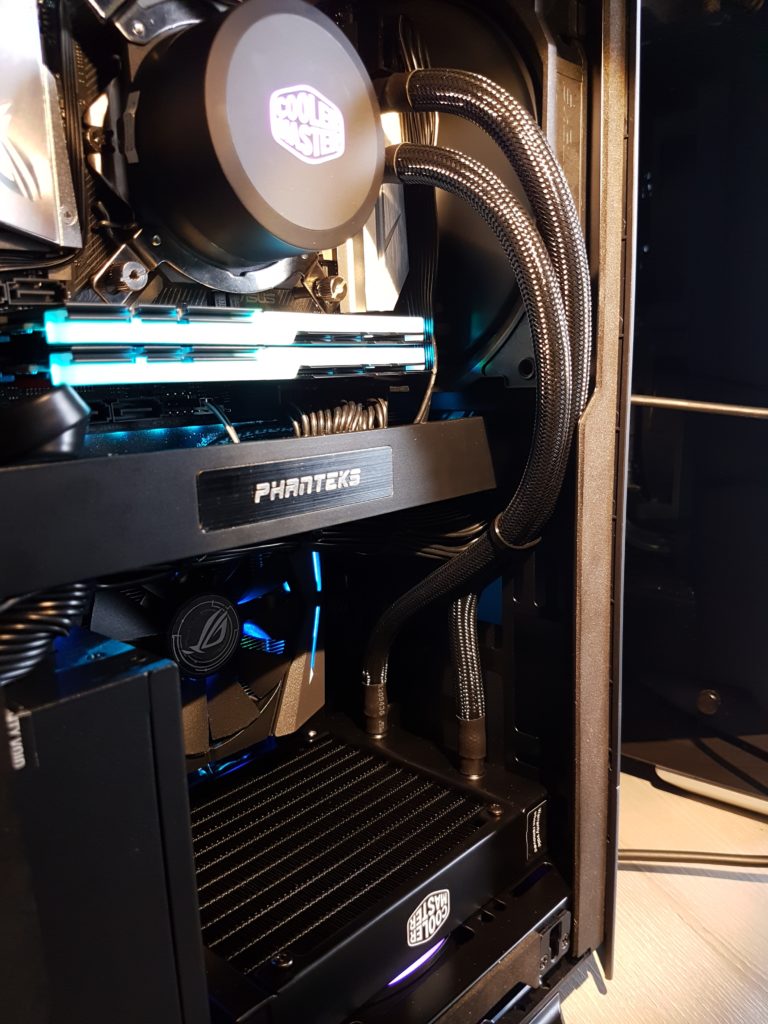
Mounting the radiator horizontal prooved to be the best routing for the hoses
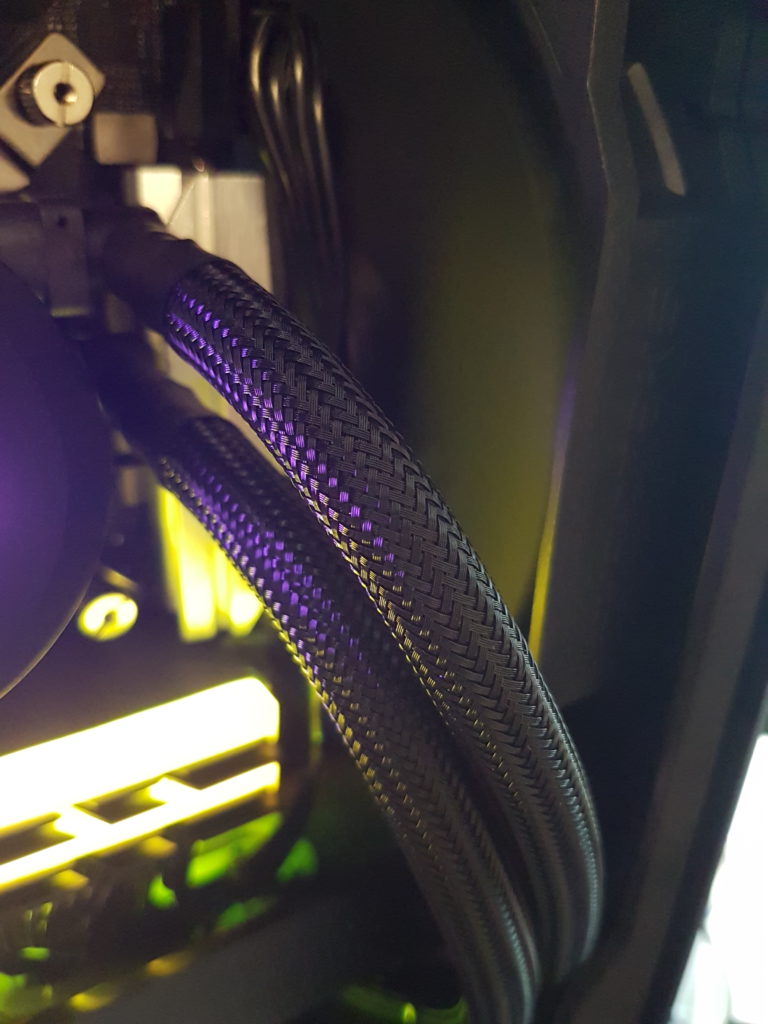
Braided sleeving looks good for a € 60,00 AIO

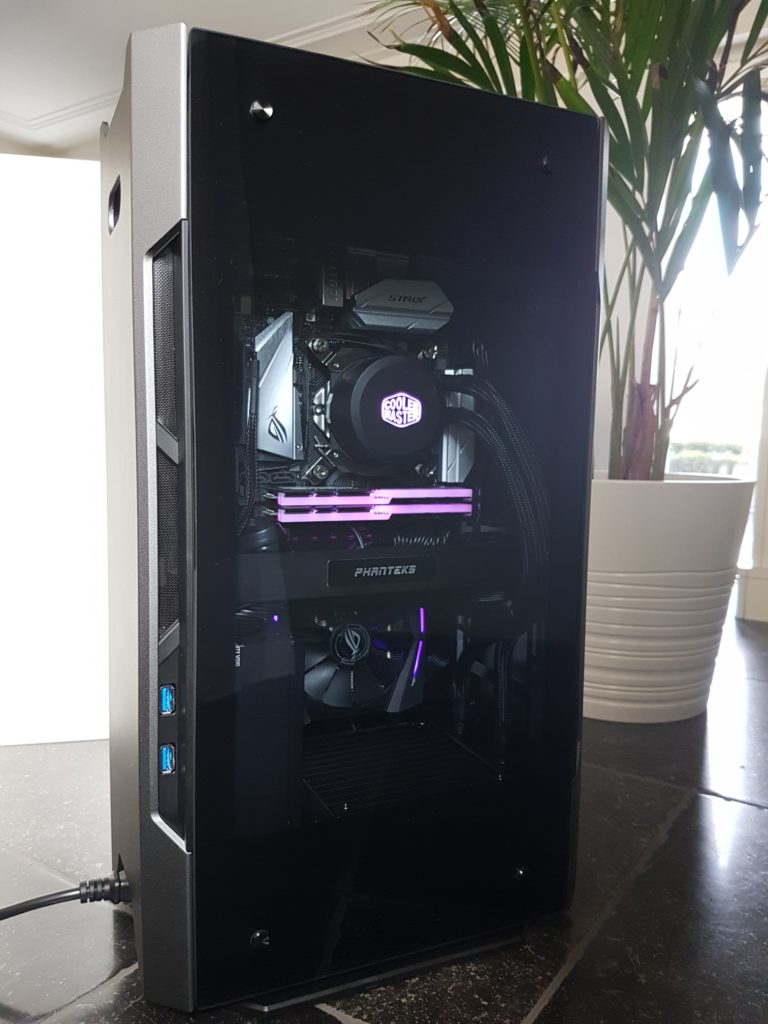
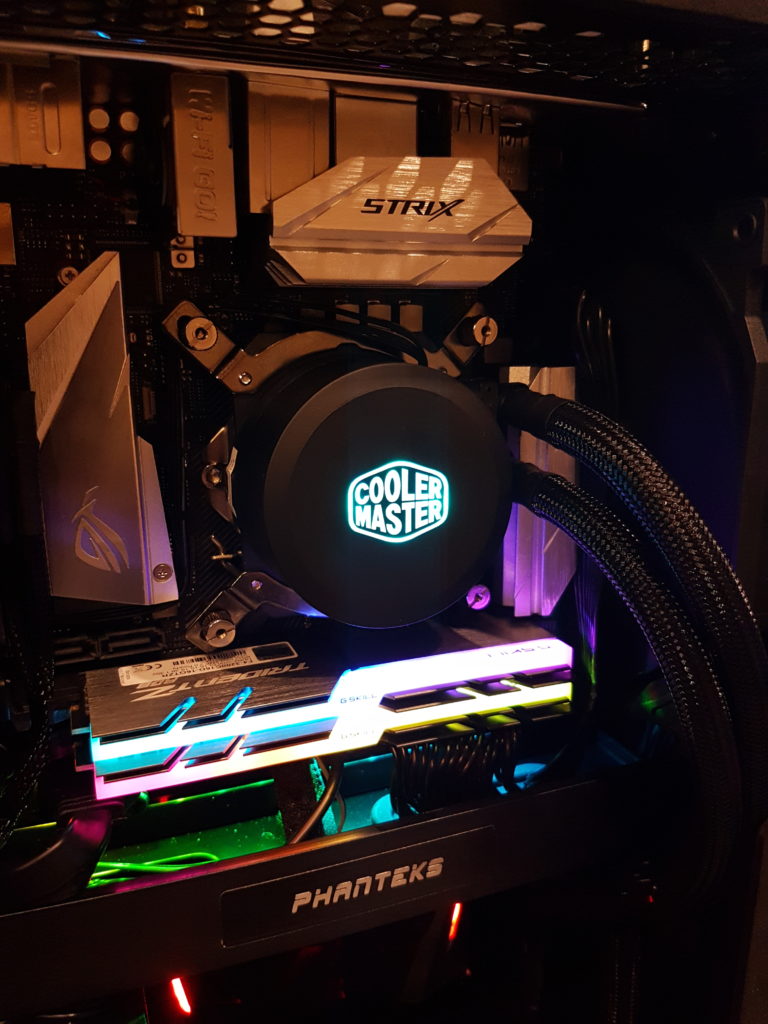 Now the build is complete we install Windows 10 Pro and Asus Aura Lighting to control our RGB components. In the previous step we found out our Asus Z370-I only features an addressable RGB header (three pins) instead of a desired four pin in our configuration, resulting in the Cooler Master ML120L RGB only displaying one color blue. Something to add to our RGB incompatibility discussion we opted during an article of the Cryorig Quad lumi. To solve this problem we implemented the RGB controller Cooler Master includes with the ML120L RGB and set it to a static color pink.
Build conclusion
In the end the overall build looks stunning and we are impressed with the build quality and feature set of the Phanteks Shift. The things we did not like about the case are the included 140mm fan not having a PWM connector, but only featuring a three pin. Also the relatively cramped space for SFX-L Power supply units should be mentioned in the manual. Besides these negatives we liked building in the Shift. Removing all the side panels is easy, preventing damage to them, and gives you access to every part of the case.
Despite being a M-ITX board, we would have liked Asus to include more RGB headers on the Z370-I, definitely adding a four pin header instead of only a three pin. That being our only complaint regarding the board there isn’t much more to whine about. We hope Amber likes the system as much as we do.
Finished Build

3 reacties
Georg · 3 augustus 2018 op 13:30
What happened with the psu? Was it changed or was it built in in the case?
Rene · 16 januari 2019 op 10:37
The same PSU is in the case Georg. It is only not the most optimal PSU for this case. You should always opt for a regular SFX psu, not a SFX-L as we did. The SFX-L is to high for the Phanteks Shift, especially since its connectors push against the bottom of the Motherboard compartment. KR Rene.
Intel Launches long awaited H370 B360 and H310 chipsets | TECHJUNKIES · 3 april 2018 op 09:53
[…] which was targeted towards Intel K cpu’s like for example the Intel Core i5-8600K or Core i7-8700K. On the other end of the scale competitor AMD has the AMD B350 and A320 chipsets available to […]