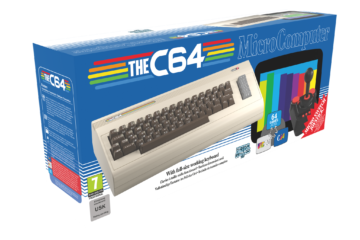
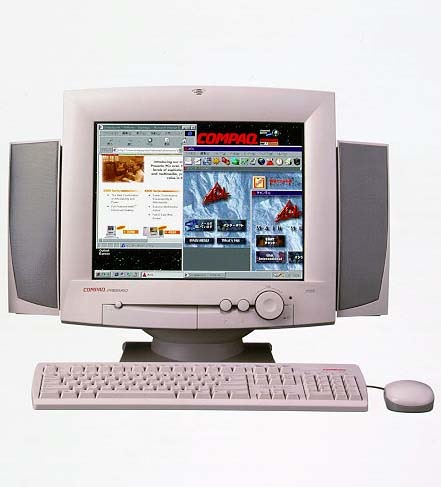
It has been 20 years since we bought our first family PC, a Compaq Presario 4814 from 1999. Back then pc’s cost a pretty penny knowing we paid about $4500,00 for a Pentium 233 MMX with 32MB PC100 SDRAM, 4GB (No not TB) HDD and integrated gpu. Not to forget the CRT monitor with detachable speakers and a big volume knob! The pc itself featured ‘Multimedia functionality’ as Compaq called it. There were quick access buttons on top of the I/O and also direct audio buttons for playing cd’s (you know those shiny round discs we burned music on back than). the picture below is from Ebay because i could not find any of our own from back than.

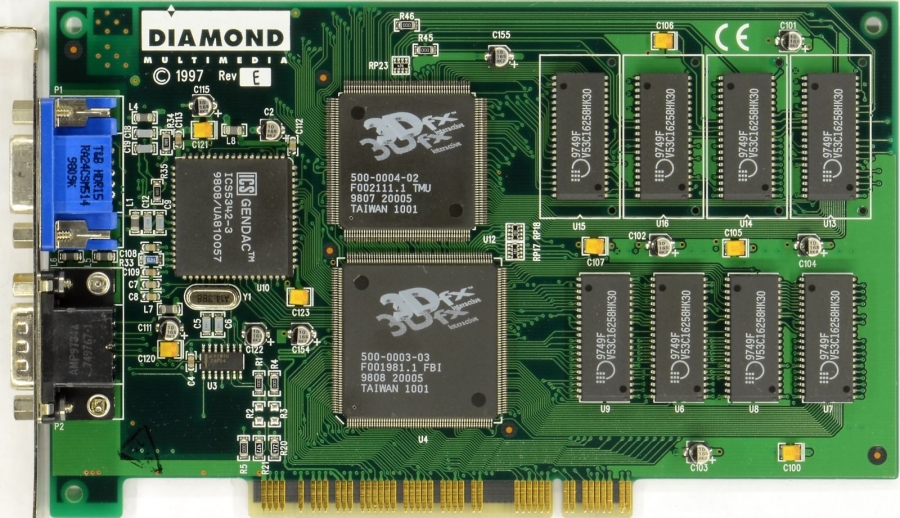
After a year or so i got hooked on pc gaming and upgraded the pc with a Diamond Voodoo 1 giving me some nice 3DFX graphics in Carmageddon, POD racer and the first Tombraider.
From the year 2000 the pc market picked up fast with new Pentiums II and III and AMD K6 cpu’s. In a desperate act to speed up our Presario i bought some extra 128MB SDRAM but somehow upgradebility was not something Compaq thought their customers would actually do. Back than it was ought better to integrate most components onto the motherboard. Years later we found the pc dusting in a corner of the room and gave it away. O boy if i knew back than what i know now.
Lately I got some sentimental feelings about the Compaq Presario and thought why not buy one from Ebay and build a new pc inside the case? Surely I needed to do some modding to get everything fit right but that was not that big of a deal. I searched for about a month meanwhile realizing RETRO/vintage pc’s cost a lot nowadays getting as high as $ 600,00 for mint samples. Buying and than destroying a perfectly working sample was not something i had in mind neither did I want to pay that much.
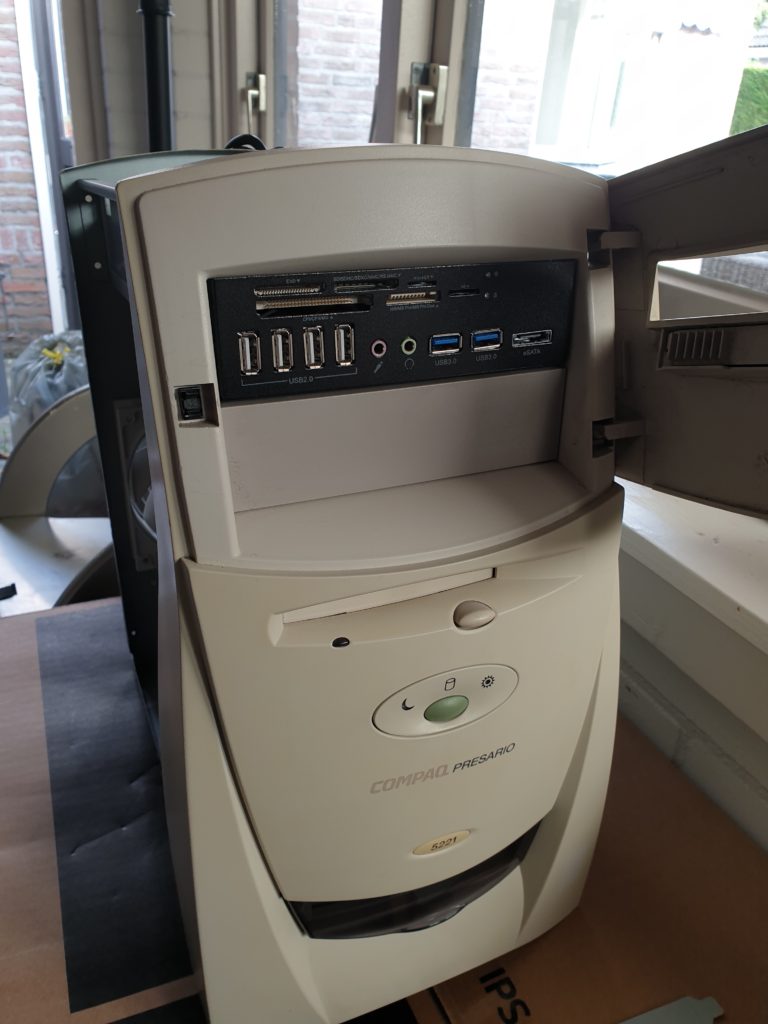
After a few weeks i accidently stumbled upon an advert of a Compaq Presario 5221, not the exact one I had in 1999 but it certainly had the same looks. It stopped working according to the previous owner and he kept the pc in his garage for the last 15 years. Best of all it was free of charge. By now you’ll understand I did not hesitate and e-mailed the owner immediately. We agreed to exchange the pc for a good bottle of wine and the deal was closed. This was the start of a new adventure for me. I first cleaned the whole pc and removed all the old components except the floppy drive which was a vintage part that completes the front of the pc.
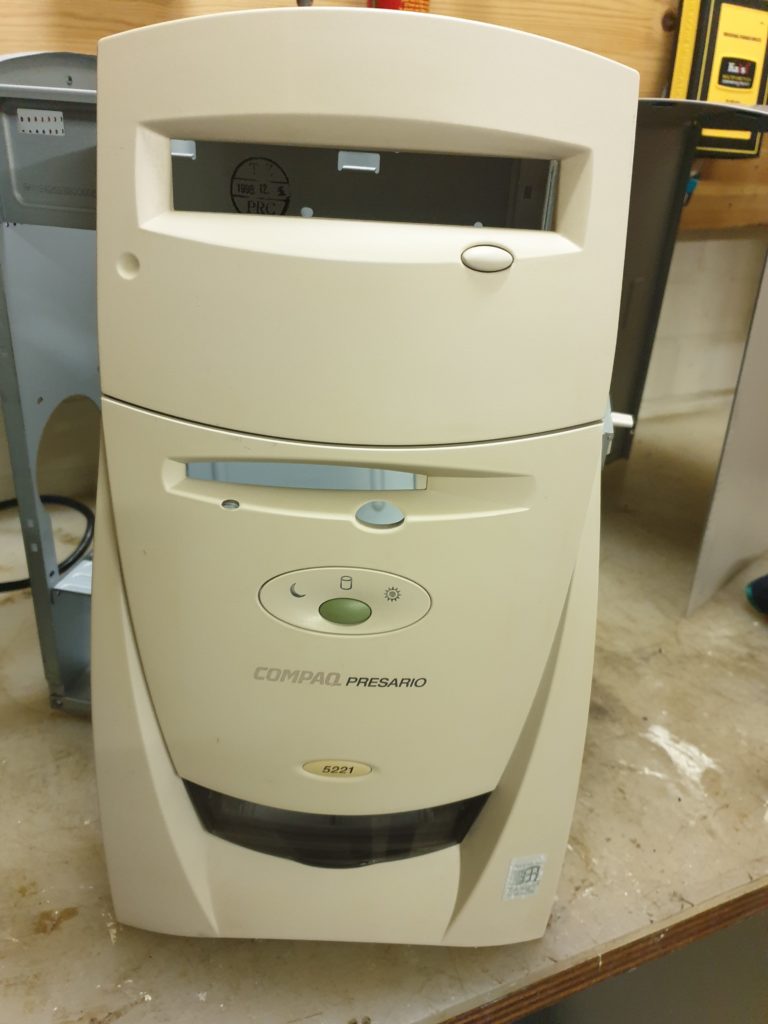
I cleaned the front panel 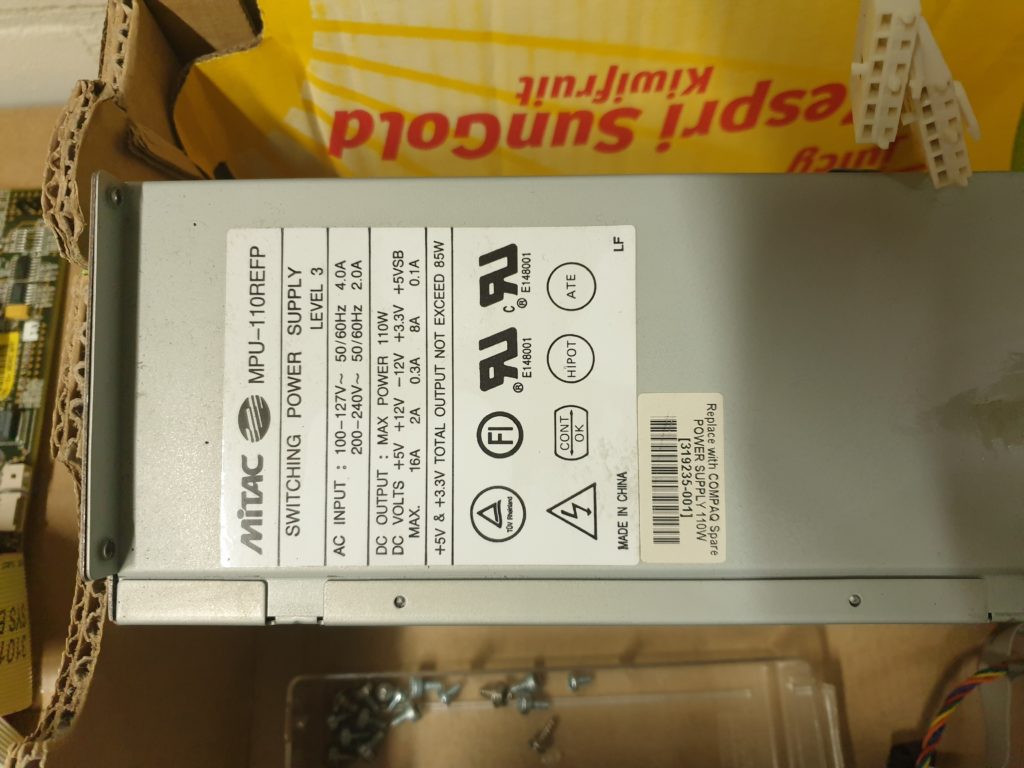
A very old PSU 110 Watts! 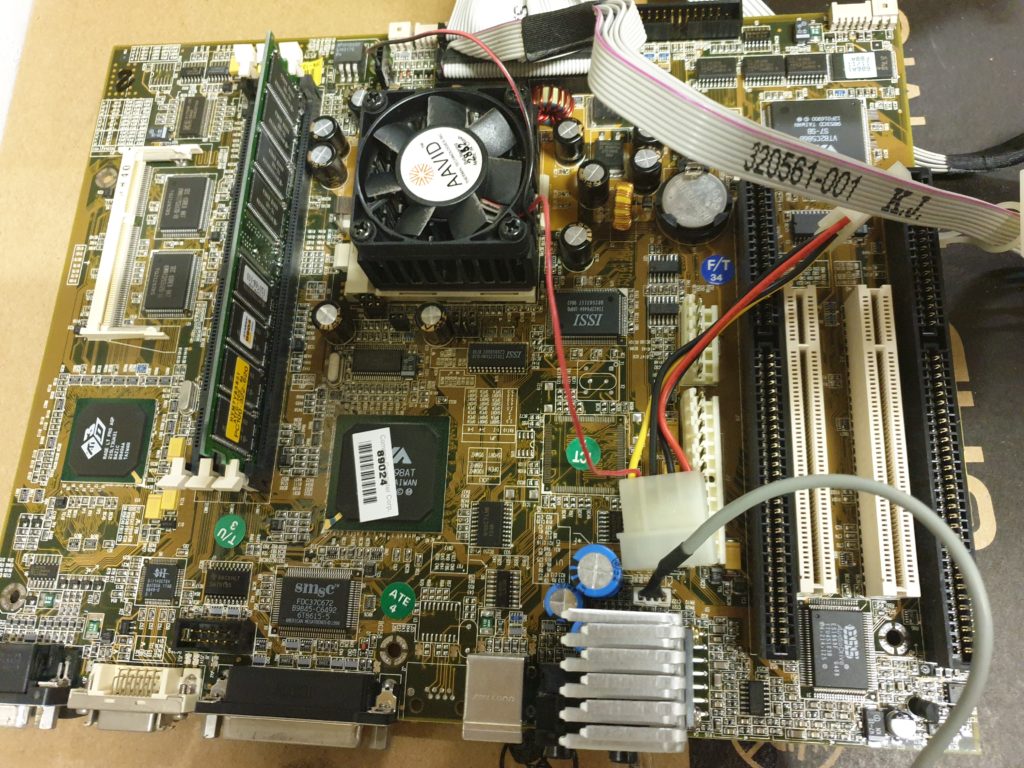
The AMD K6-380 and 64MB of SDRAM 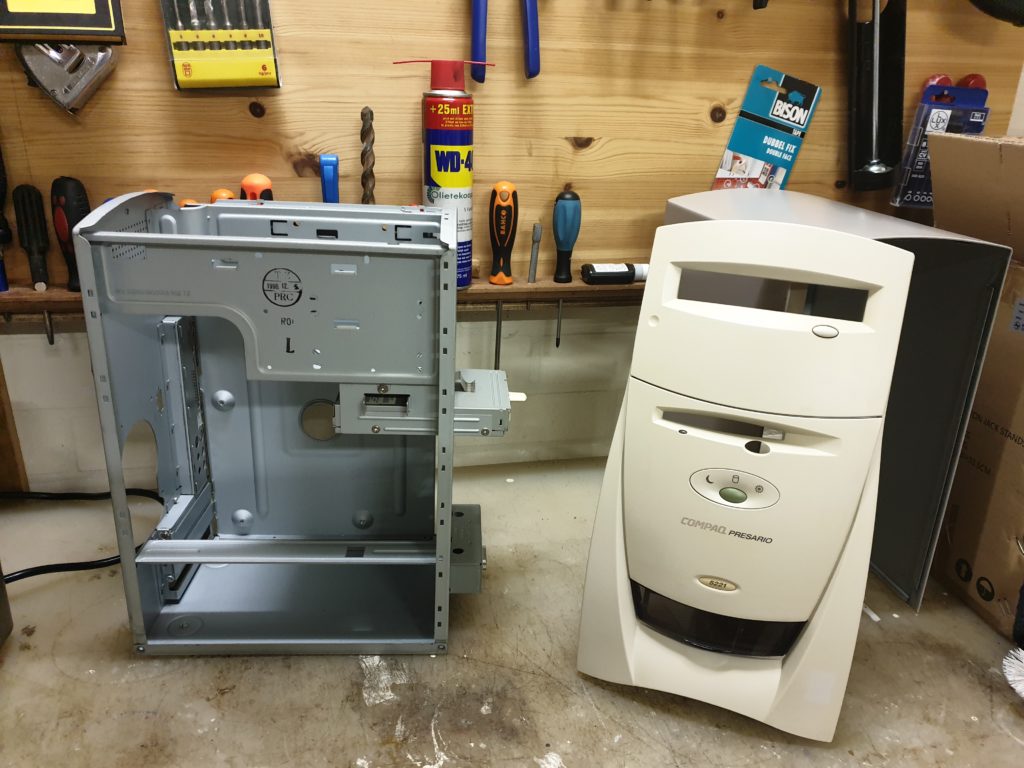
The bare bone chassis of the Compaq Presario 5221 with front panel
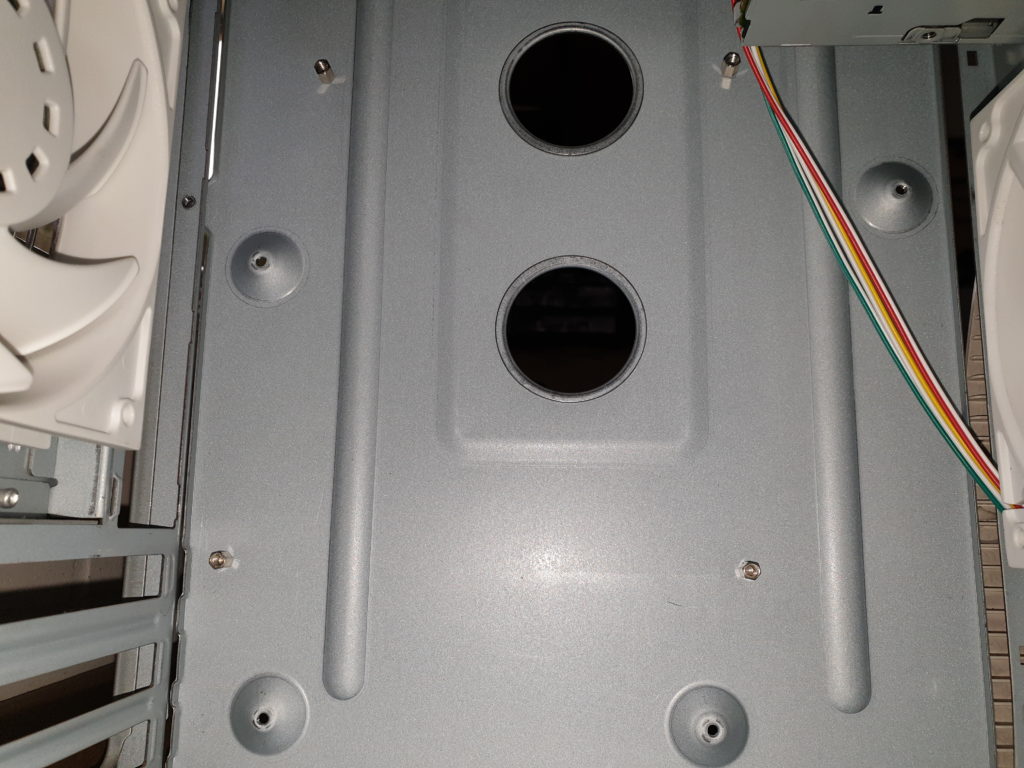
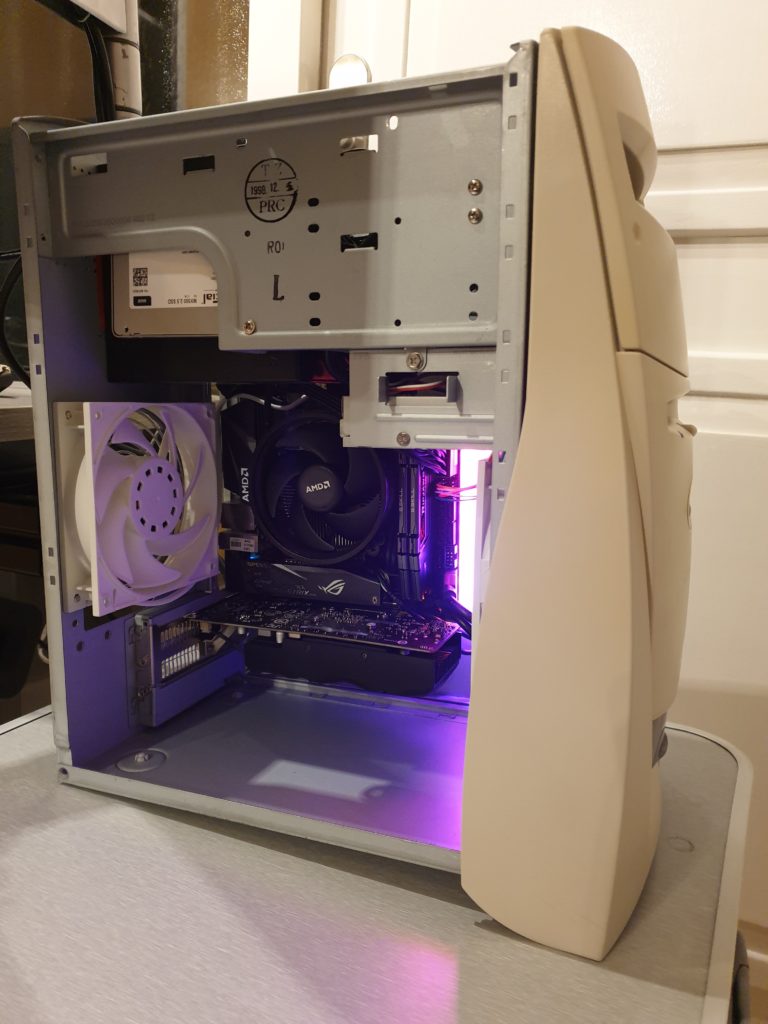
After the removal of all the components i started drawing two 120mm fan holes using a fan guard on the front and back of the pc. In the second step I grabbed the Dremel and cut everything out. Once finished I mounted white EKWB 120mm fans in the front and back to secure a good enough airflow for the new components there about to get installed I had them laying around so why not use these?
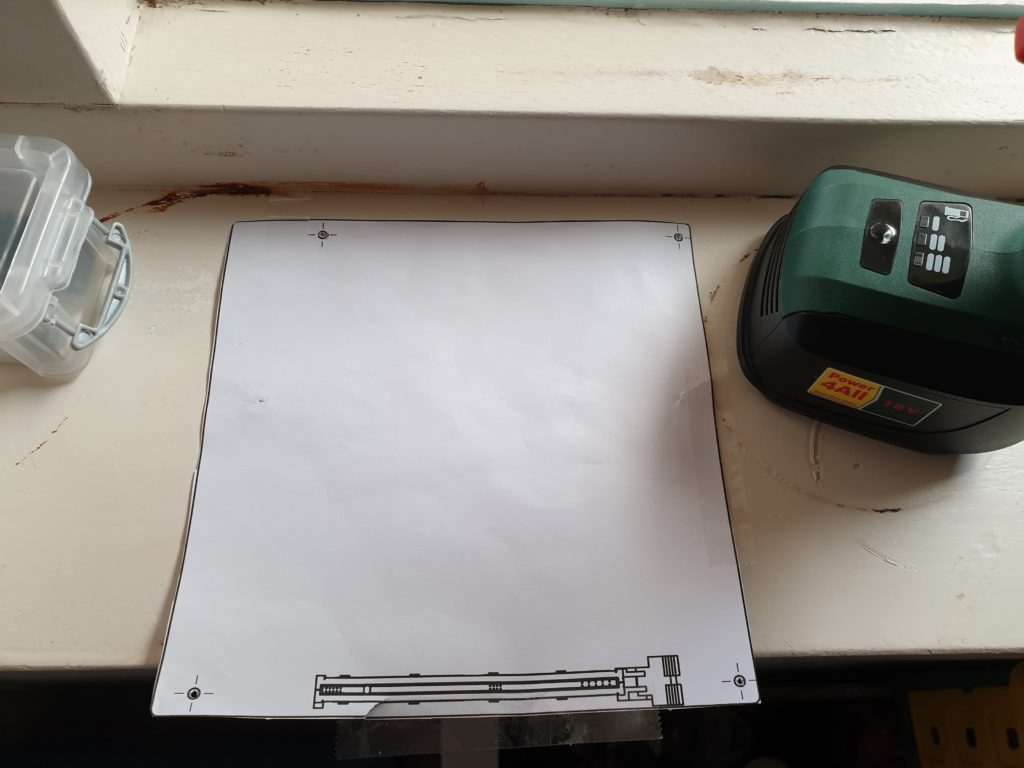
Back in the day the Compaq Presario 5221 featured a custom made motherboard specifically for these Presario models with a unknown form factor. The thing is, I expected to run into some trouble fitting a 2019 motherboard based on an ATX layout and I was right. Luckily i found a blueprint of an ITX board i could use as a guide to determine the exact position of the motherboard standoffs. I got this via Bit-Tech.net. After drilling the holes for the standoffs and screwing the new ones in, I fitted the board and to my relief everything lined up perfectly.
The last part in our restoration process was to add an SFX-L Bequiet 500 Watt PSU for which we had to cut an additional hole in the back of the chassis and in the 5.25 inch bay to get everything to fit right. Next we created new Power and Reset buttons and lighting for the I/O panel of the case. The original Power and lighting connector mounted to the original motherboard featured a 5 pin config that we don’t find on modern boards anymore. Therefore I ordered a Ketchup and Mustard colored Power and Reset button including the corresponding LED’s. These were easily installed with some permanent glue because i could luckily reuse the original bracket. Now the original lighting and buttons work again how they supposed too.
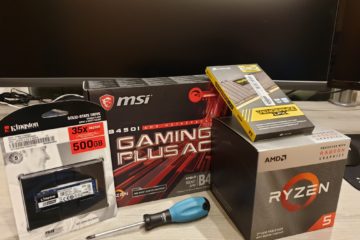
Now it was time to mount all the hardware, but we didn’t even tell you what we chose to complete our retro build. First of all i wanted to stay close to the roots of this pc and don’t use anything crazy expensive. I chose an AMD platform, not the newest Matisse Ryzen 3000, but a previous generation Ryzen 5 2600 (non-x Pinnacle Ridge) cpu which is now very cheap but performs great with it’s 6-core and 12 threads. The motherboard of our choice is an Asus Strix B450-I Gaming ITX board, for memory G.Skill Ripjaws 3200Mhz CL16 RAM and storage is taken care of by a Crucial MX500 SSD. The GPU is a low profile MSI GTX 1050 Ti which will suffice as I actually build this pc for my parents so the chances someone will ever play a triple A title on this machine is very limited. To complete the build we added some front panel USB 3.0 connectivity in the front 5.25 inch bay. When the front door is closed you can still plug in a USB 3.0 device, Nice!

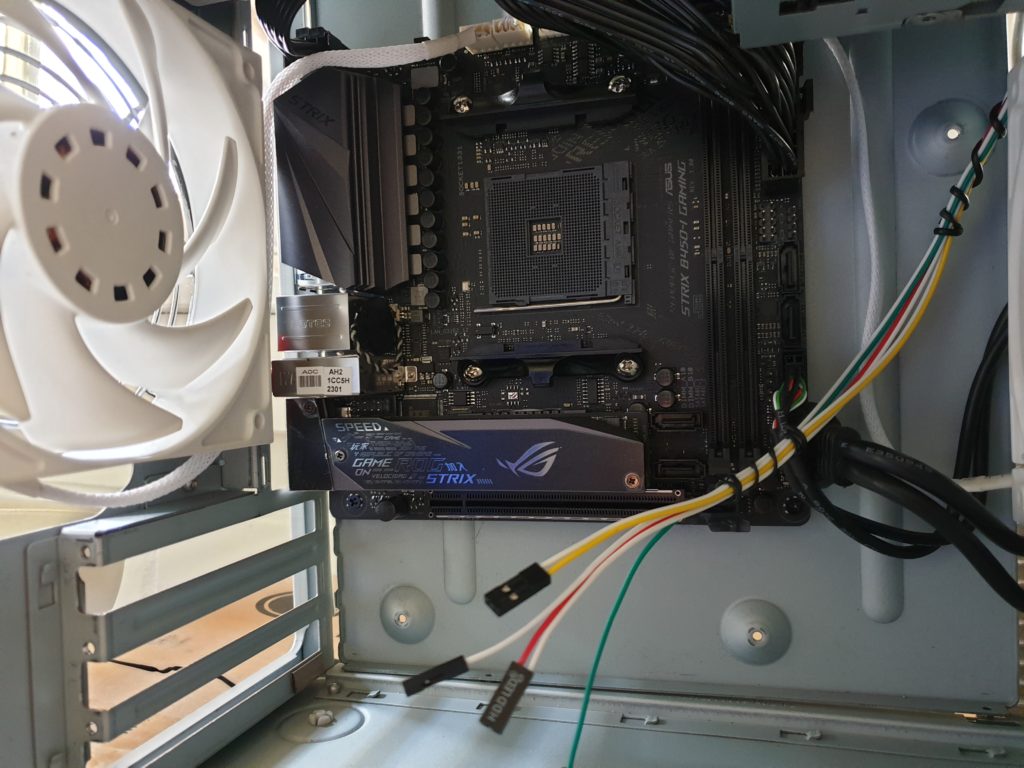
Now the moment of truth… Will it turn on and work as it supposed to? I clicked the power button and….. Yes!, RGB lighting and spinning fans, great success! Finally we installed Windows 10 and Nvidia drivers and called it a day.
Reflecting on this project I feel overwhelmed by the fact it turned out this good. Building this reminds me of when I was young, being 15 years old and playing games while working on computers for the first time. So if you are into this geeky stuff, I strongly advice you to try this once.
Find the case of your first pc or your parents for that matter and let it relive it’s days again. The coming days i will add some extra pictures of the Compaq Ryzen 2600, but for now sleep well and have an nice weekend!
René.